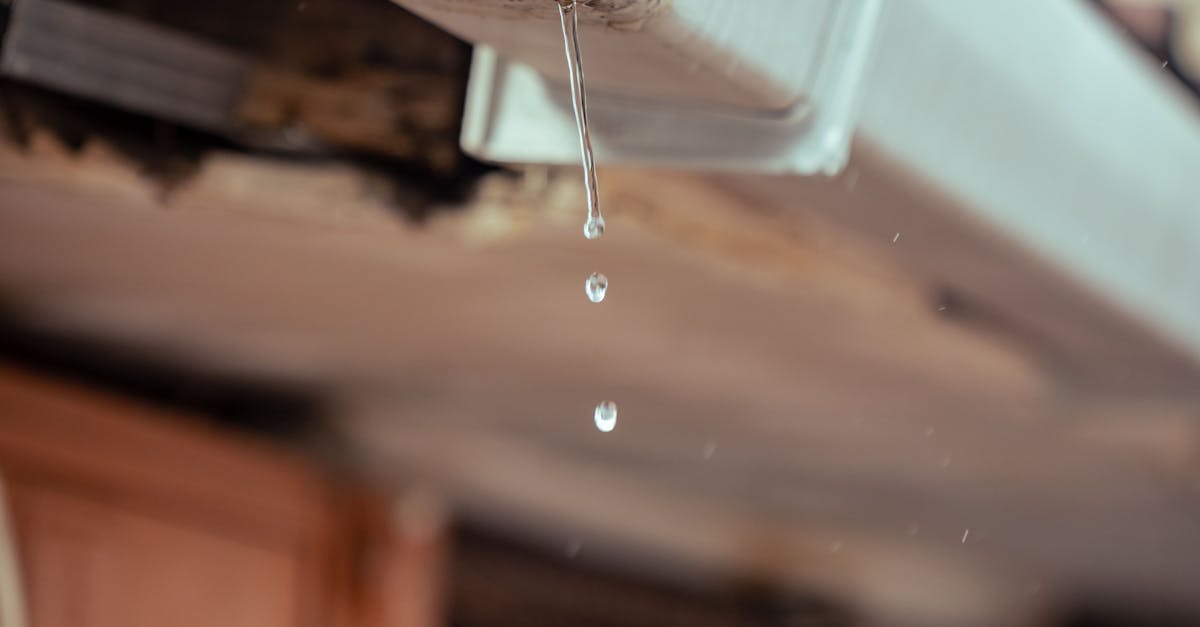
How do you fix a leaking downspout joint?
Choosing the Right Sealant
When it comes to downspout repair, selecting the right sealant is crucial for effective and lasting fixes. Various types of sealants are available, each designed for specific conditions and materials. Silicone sealants offer excellent waterproofing capabilities and can bond well to metals and plastics. If you prefer a more versatile option, consider polyurethane sealants, which provide strong adhesion and flexibility, making them suitable for outdoor use.
The temperature and weather conditions at the time of application can significantly impact the performance of the sealant. Choosing a sealant formulated for wet or humid environments ensures better adhesion. For a reliable downspout repair, always check the manufacturer's instructions regarding application conditions and drying times. Making an informed choice leads to a more durable solution that prevents leaks and water damage.
Types of Sealants Suitable for Downspouts
When choosing a sealant for downspout repair, it's essential to consider the material of the downspout itself. For metal downspouts, such as aluminum or galvanized steel, a siliconized acrylic sealant offers durability and flexibility. This type of sealant creates a strong bond while allowing for some movement, which is crucial in outdoor settings where temperature fluctuations can cause expansion and contraction. For vinyl downspouts, a specific vinyl cement can provide a secure seal that resists weathering.
Another option is using a polyurethane sealant, which adheres well to various materials and provides excellent waterproofing. This sealant is particularly effective for areas experiencing significant water flow, as it can withstand extreme weather conditions. Regardless of the choice, ensure that the sealant is labeled for outdoor use and remains effective under UV exposure. Properly selected sealants can prevent future leaks and extend the lifespan of the downspout assembly.
Applying the Sealant
Before applying the sealant, ensure the surfaces are clean and dry. Remove any dirt, rust, or debris from the leaking joint using a wire brush or cloth. This preparation step is crucial for achieving a strong bond between the sealant and the metal. Once the area is clean, refer to the manufacturer's instructions regarding the recommended drying time if any cleaning products were used.
When ready, apply a generous bead of sealant around the joint. Use a caulking gun for precision and control. Ensure that the sealant fills all gaps completely to prevent future leaks. After applying, smooth the sealant with a putty knife or your finger, ensuring an even application. This meticulous approach not only enhances durability but also contributes to a successful downspout repair.
Best Practices for Even Application
For effective downspout repair, achieving an even application of sealant is crucial. Start by ensuring that the surfaces of the joint to be sealed are clean and dry. Use a wire brush or cloth to remove any debris, old sealant, or dirt. This preparation enhances adhesion and ensures a more reliable seal. When applying the sealant, use a caulking gun for better control and to create an even bead. Aim for a continuous line, avoiding gaps where water may seep through.
While applying the sealant, maintain steady pressure on the caulking gun for uniform distribution. Move in a smooth motion along the joint, and take care not to apply too much material at once. Excess sealant can create messy edges and may require additional cleanup. Having a putty knife or scraper on hand can help to smooth the sealant once applied, ensuring an even layer and promoting a strong bond. This attention to detail helps to achieve a more effective and long-lasting downspout repair, ultimately preventing future leaks.
Reassembling the Downspout
After applying the sealant, the next step is to reassemble the downspout. Begin by carefully aligning the sections of the downspout back to their original positions. Ensure that the sealant has not dried yet, as this will allow for a better bond between the joints. It’s essential to pay attention to the orientation of the sections to avoid any misalignment that could lead to further leaks.
Once the pieces are aligned, gently press them together. This is a critical phase in the Downspout Repair process, as improper fitting can compromise the seal. After reassembling, consider using screws or brackets to secure the joints if they are part of the initial structure. Check for any visible gaps and ensure everything is tight, allowing for water to flow through smoothly without any risk of leakage.
Ensuring a Secure Fit
After applying the sealant, reassemble the downspout components, ensuring that every joint fits snugly. Misaligned sections can lead to further leaks, so adjust the positioning until everything appears straight and secure. It’s wise to periodically check the fit as you work to prevent any misalignment. If necessary, gently tap the sections into place using a rubber mallet to avoid damaging the materials while achieving a tighter fit.
Once the downspout is reassembled, consider reinforcing the joints with additional screws or brackets. This added support not only helps maintain the integrity of the seal but also protects against any potential movement caused by weather conditions. Proper Downspout Repair ensures that the system functions effectively, directing water away from your home and preventing damage to the foundation or landscape. Regular inspections after heavy rain can help identify any issues that may arise from the repair.
FAQS
What causes a downspout joint to leak?
A downspout joint can leak due to wear and tear over time, improper installation, or damage from severe weather conditions. Accumulation of debris can also contribute to leaks by obstructing proper water flow.
How do I choose the right sealant for my downspout?
When choosing a sealant for your downspout, consider factors such as compatibility with the material of your downspout (e.g., vinyl, aluminum, or galvanized steel), weather resistance, and flexibility. Look for sealants specifically designed for outdoor use and capable of withstanding varying temperatures.
Can I use duct tape to fix a leaking downspout joint?
While duct tape might provide a temporary fix, it is not a long-lasting solution. It can degrade under weather conditions and may not hold up against water pressure. It's better to use a suitable sealant designed for downspout repairs.
How often should I check my downspouts for leaks?
It's advisable to check your downspouts at least twice a year, preferably in spring and fall, to ensure they are functioning properly. Additionally, inspect them after heavy rain or storms to catch any potential leaks early.
What tools do I need to fix a leaking downspout joint?
To fix a leaking downspout joint, you will typically need a putty knife or caulking gun for applying sealant, a clean cloth for surface preparation, and possibly a screwdriver or wrench for reassembling the downspout.